Windows XP Mode is a free feature available for Windows 7 Professional, Enterprise, and Ultimate, providing an official, activated virtual machine of Windows XP Professional SP3. The virtual machine is pre-configured and ready to run most legacy Windows programs that are incompatible with Windows 7.
To install Windows XP Mode, first install Windows Virtual PC (also known as Virtual PC 2009). This provides functionality to run virtual machines on your computer.
After installing Windows Virtual PC, we recommend installing an update (KB2652034) that resolves various issues. On certain hardware (AMD Bulldozer and later), this update is mandatory to avoid blue screen errors.
| Update | 32-bit | 64-bit |
|---|---|---|
| KB2652034 | Download | Download |
Once Windows Virtual PC has been installed, you can install Windows XP Mode. This creates the Windows XP virtual machine, which can be started through the Start menu. (The “N” variant of the download excludes Windows Media features.)
To begin setting up Windows XP Mode, click Start → All Programs → Windows Virtual PC → Windows XP Mode. This starts the Windows XP Mode Setup wizard.
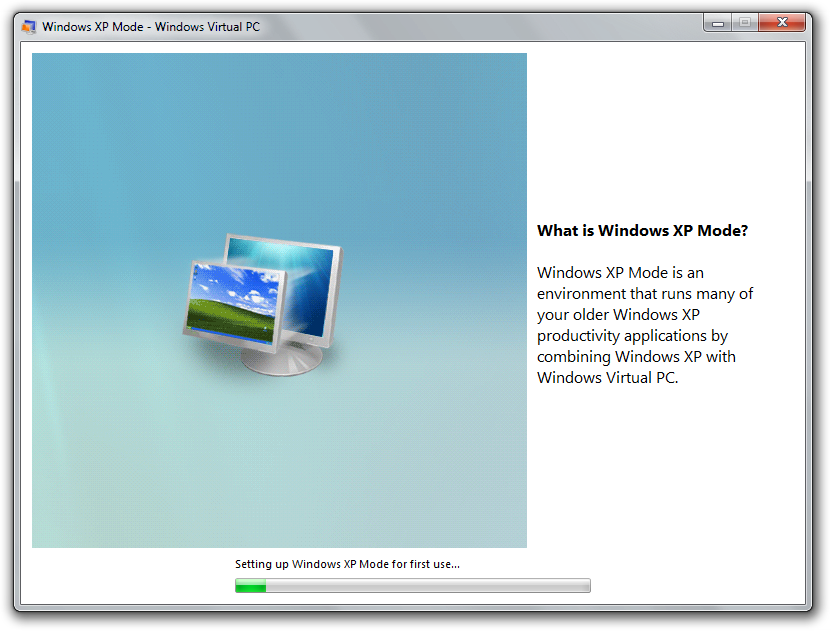
After installing software in Windows XP Mode, you will find shortcuts added to the Windows 7 Start menu. Clicking one of these shortcuts will open the program in a seamless mode, allowing windows from the Windows XP virtual machine to appear alongside programs running on the Windows 7 host.
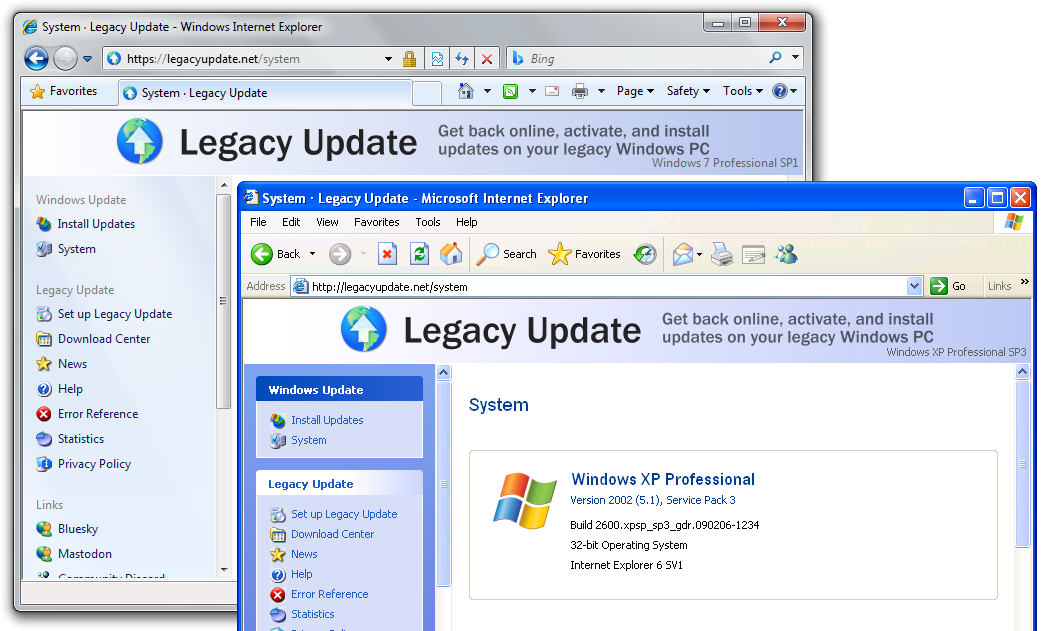
Windows XP Mode is only supported through Windows Virtual PC on Windows 7 Professional, Enterprise, and Ultimate. While it is possible to use the virtual hard drive image (.vhd) with Virtual PC 2007, Hyper-V, and other competing virtual machine products, doing so will cause deactivation of the included Windows XP license. If you have a valid product key for Windows XP Professional, you can change the product key and reactivate using Legacy Update.
Troubleshooting hardware-assisted virtualisation
If you receive the error message “Unable to start Windows Virtual PC because hardware-assisted virtualization is disabled”, run the Hardware-Assisted Virtualization Detection Tool. You will receive a dialog box similar to one shown below:
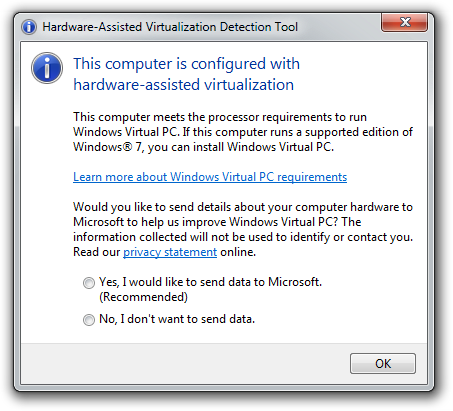
If you see “This computer is configured with hardware-assisted virtualization” (blue information icon), your computer is configured correctly. No action is required.
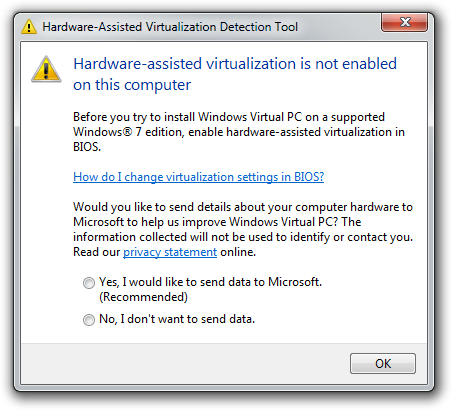
If you see “Hardware-assisted virtualization is not enabled on this computer” (orange warning icon), check your computer’s BIOS setup to enable hardware-assisted virtualisation, Intel VT-x, AMD-V, VIA VT, Vanderpool, or SVM Mode. (All names refer to the same technology.) Instructions vary between brands and models - you may need to search online for instructions.
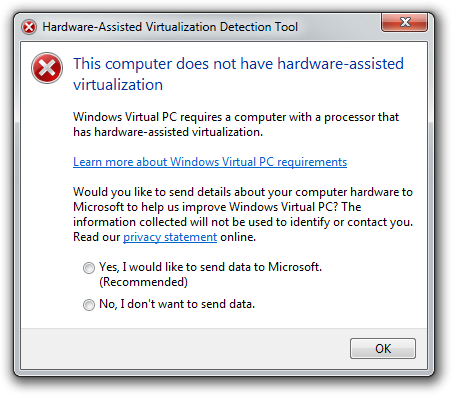
If you see “This computer does not have hardware-assisted virtualization” (red error icon), install KB977206, which bypasses this requirement.
| Update | 32-bit | 64-bit |
|---|---|---|
| KB977206 | Download | Download |
Please note that the virtual machine will run significantly slower without hardware support. This update only applies to virtual machines running Windows XP SP3. Running other operating systems still requires hardware-assisted virtualisation.
The update has a known issue that causes copy-and-paste of files between Windows 7 and Windows XP to no longer work. Microsoft recommends using the shared drives in My Computer instead.